 As I mentioned a few times (or maybe it was just yesterday), I'm building a photo wall in my stairwell. Originally it was going to be a wall for friends and family, but it became much bigger than that when I realized I wouldn't have enough wall space for everybody. So now I'm going to have a Blogger Friends Wall in the stairwell, another Blogger Friends Wall in the dining room, a Family Wall in the upstairs hall, and a Friends Wall in my entryway.
And figuring out how to go about it all is not as easy as it sounds. There are hundreds of photos to organize and frame which requires some planning. For the sixty-six photos in my stairwell, I measured all the frames I've been collecting over the past two years and drew up a schematic...
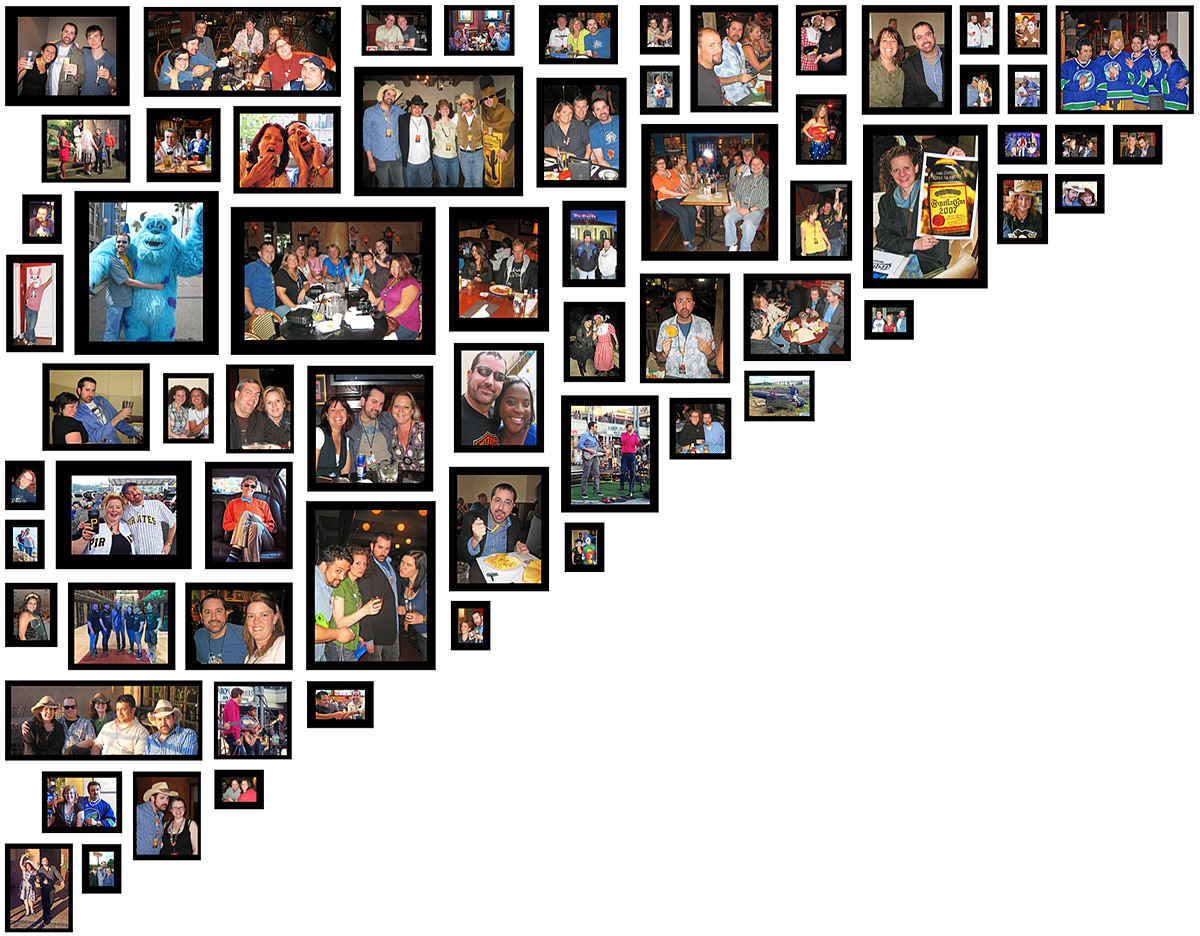
If you'd like to see a zoomable image, you can go to the project page I made right here. It has a magnifying glass so you can see everybody up-close-and-personal...
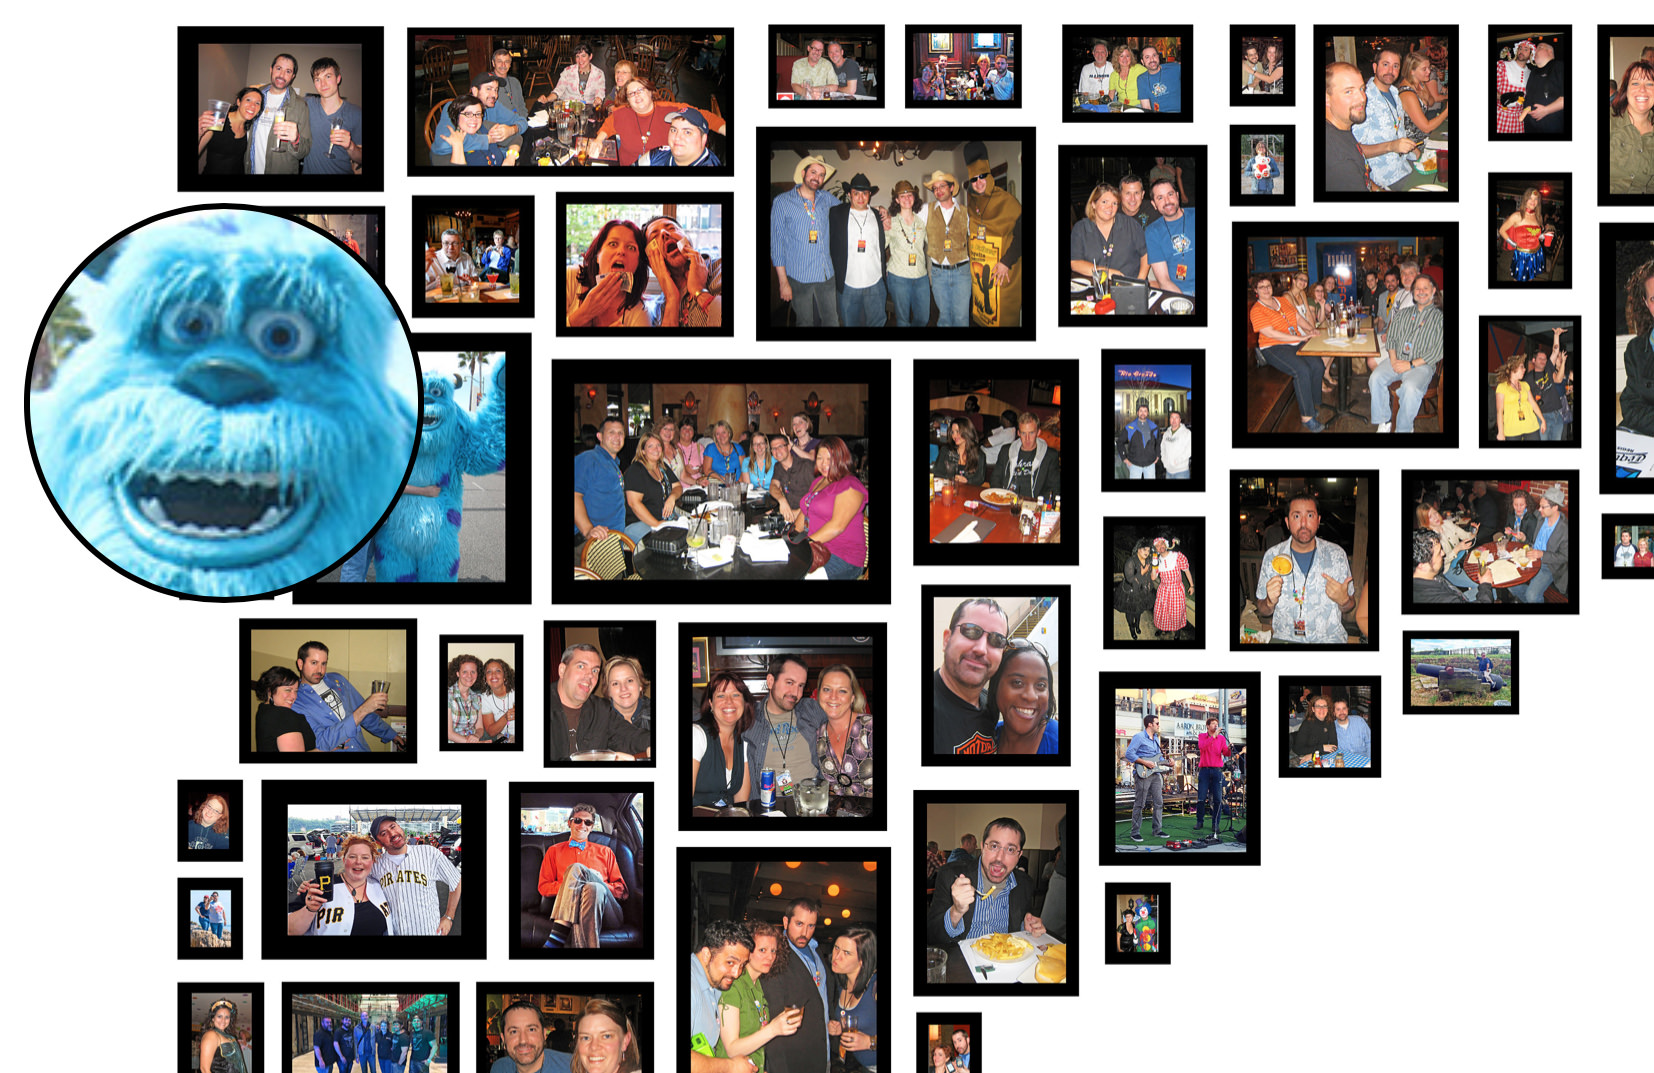
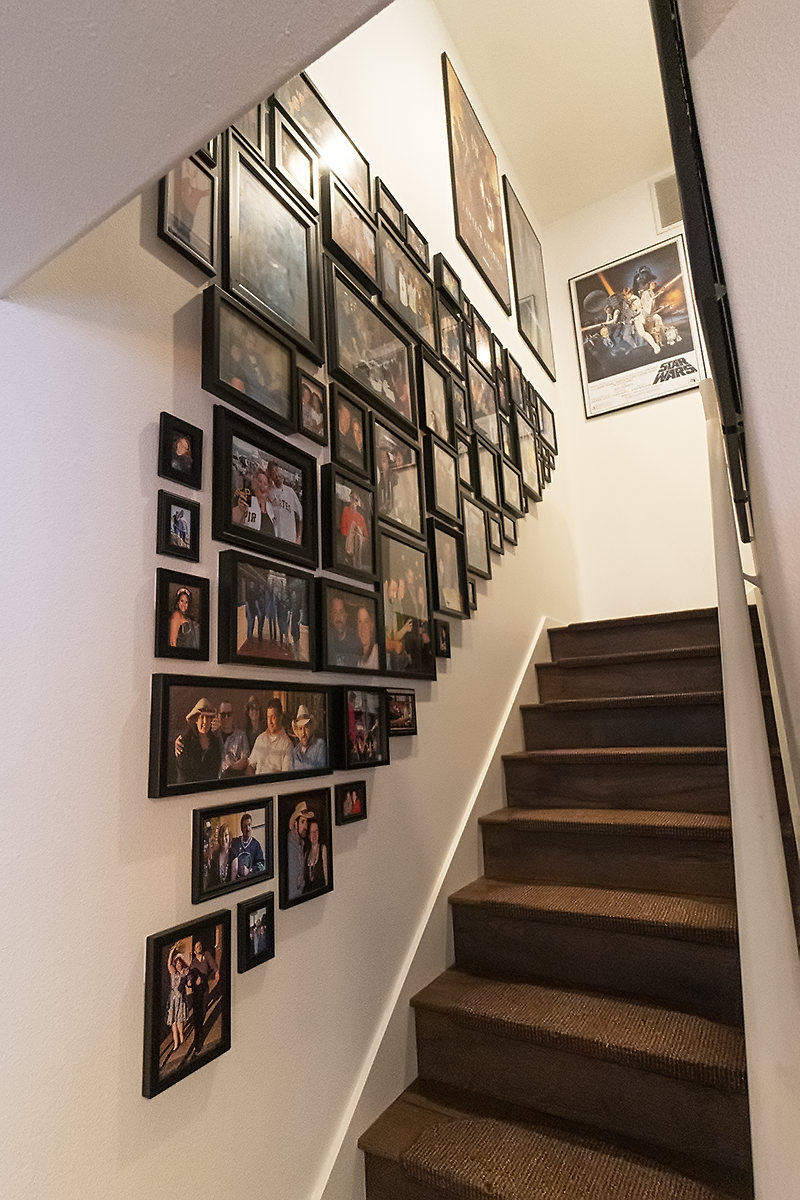
Despite being a huge amount of work and more frustration that I imagined it could be, the results are amazing...
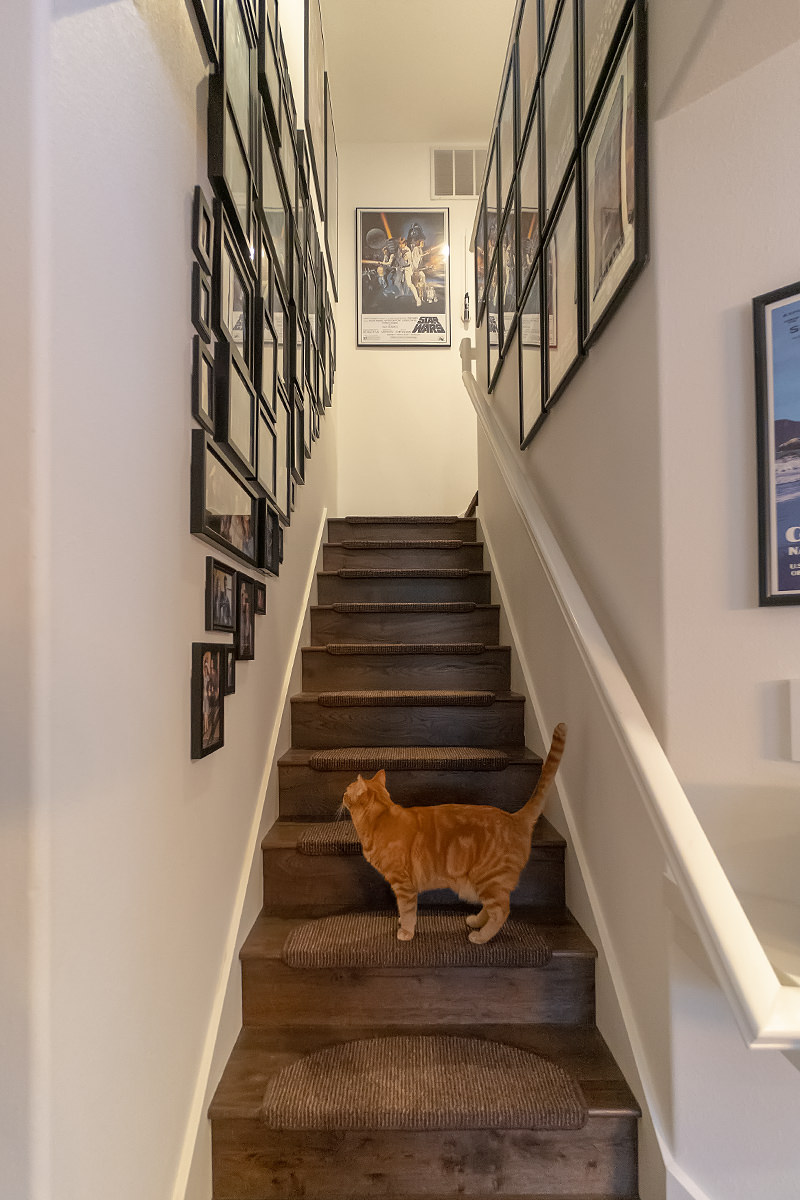
My cats don't seem to know what to make of it yet. But they're keeping their paws off. For now.
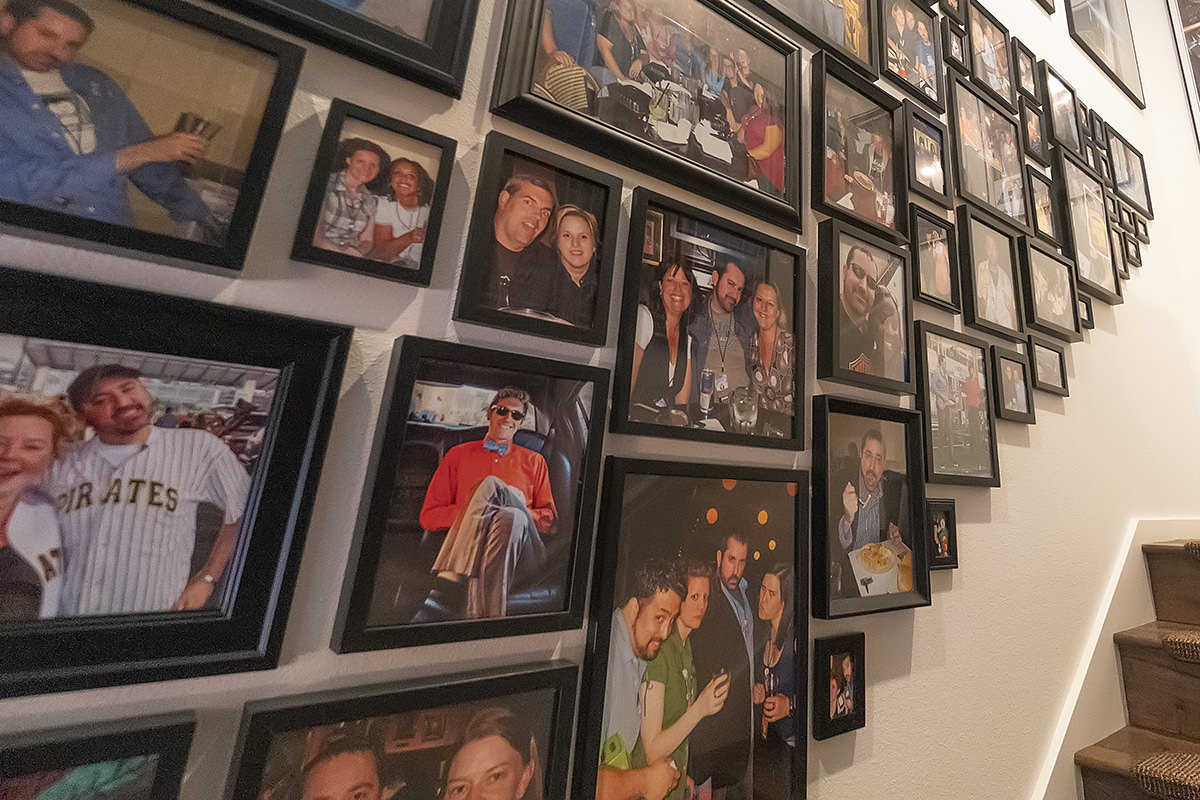
The most important part of the plan was determining how low I could go and still see everything. If I were to put photos too far down on the wall, I'd have to be on my hands and knees to see them. After hanging test photos, I was able to see what photos I could see as I approached the stairs...
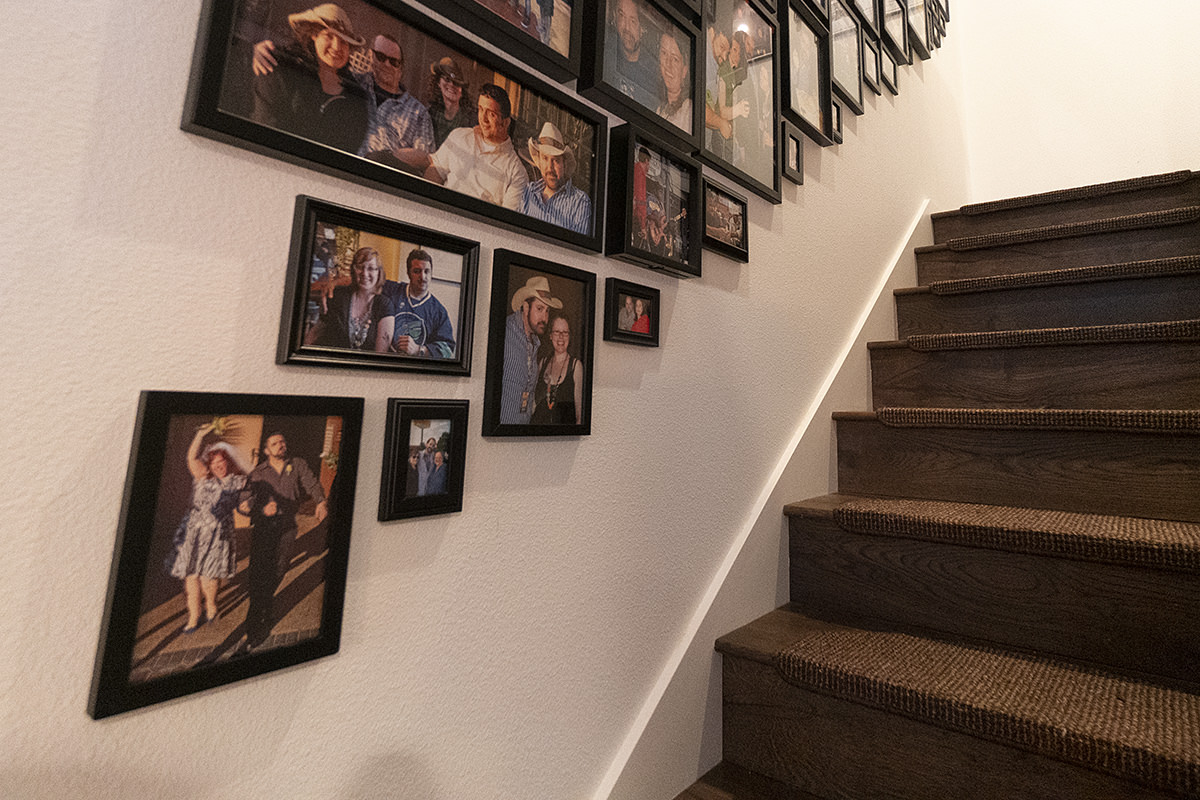
Then what I would see with each new step...
As I was testing placement I found out that my eye went to a different area depending on whether I was climbing the stairs... descending the stairs... or looking down from the second floor...
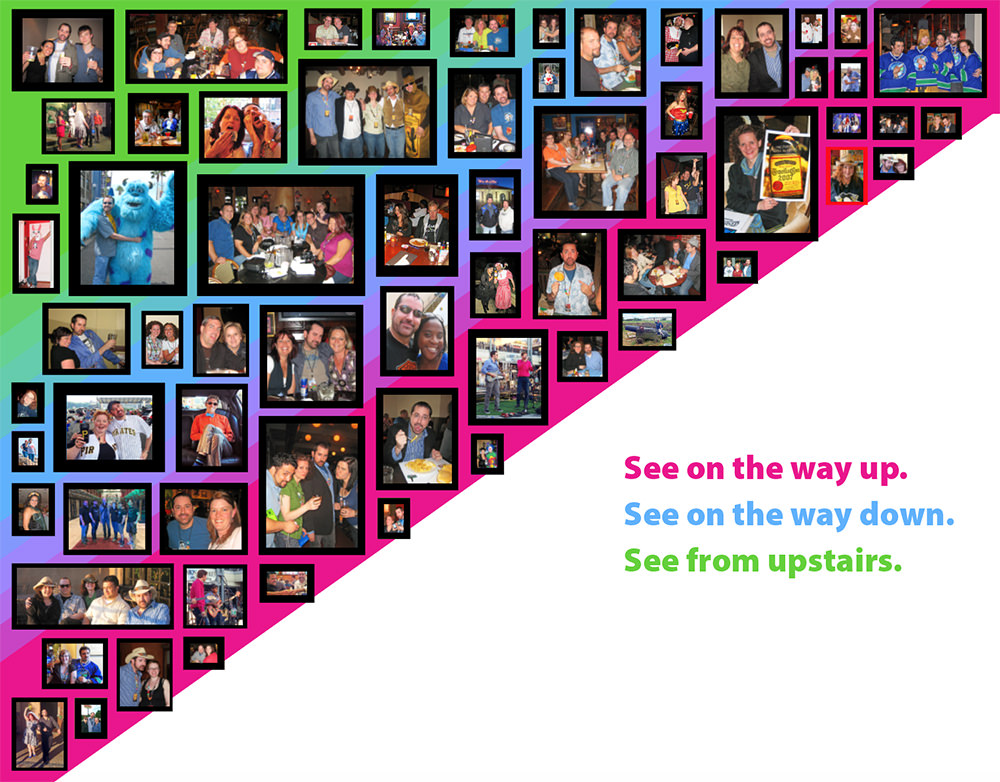
Going up the stairs I tend to look downward so I see the photos along the bottom. But going down the stairs my eyes tend to go down the middle for some reason...
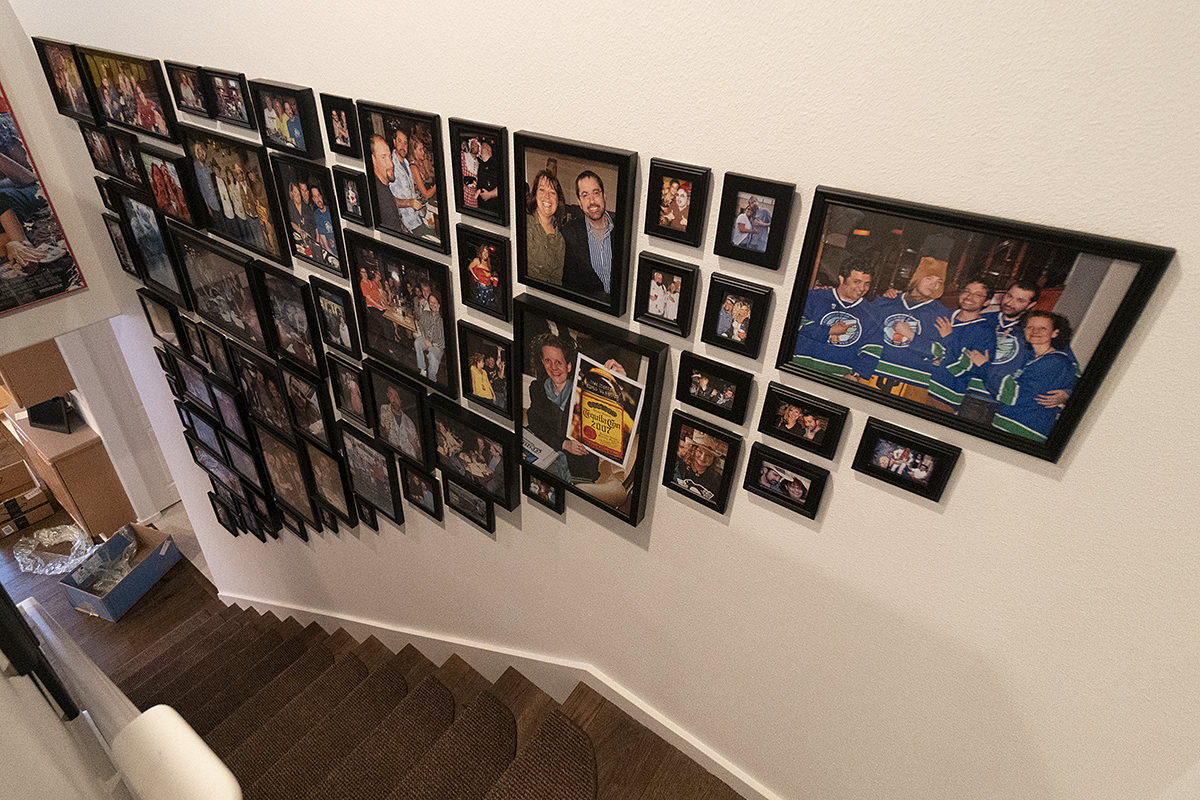
This is perfect, because I end up seeing all the photos. Even the photos that are too high to be seen from the stairs are perfectly visible from above...
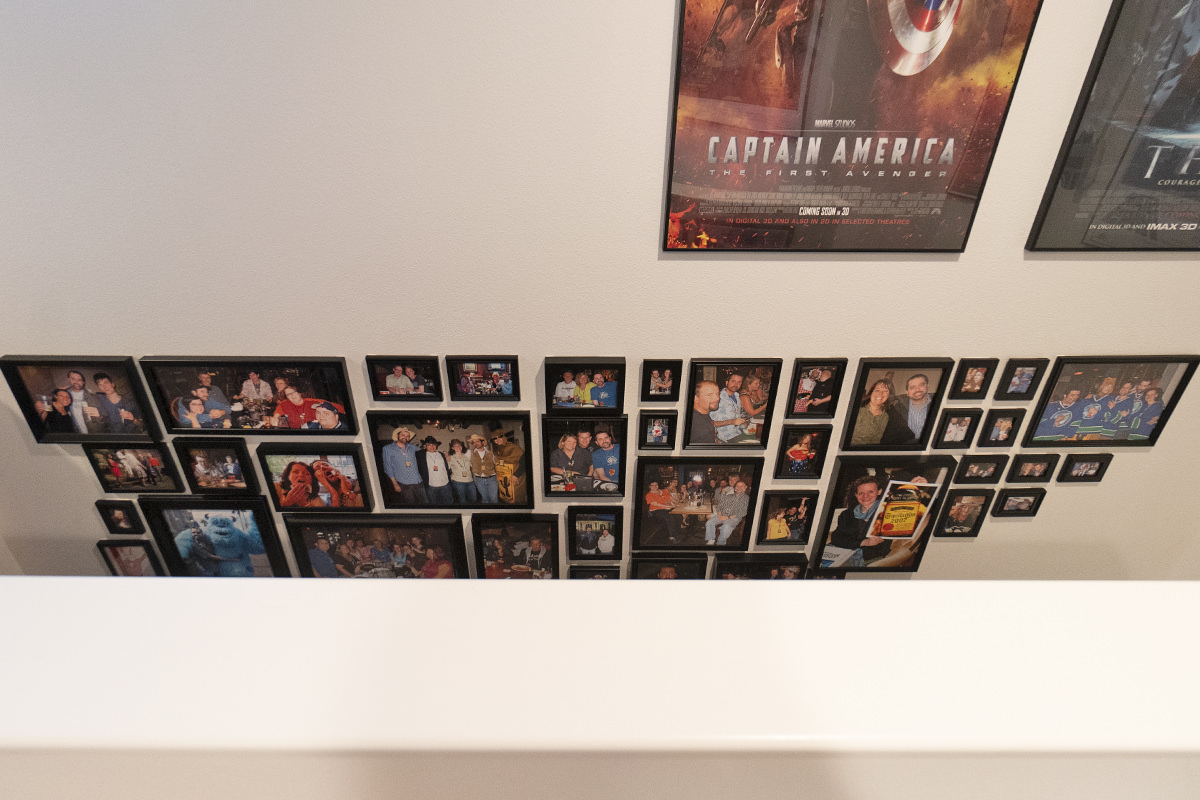
I couldn't be happier with how it all came together, and I actually look forward to using the stairs now so I can see my friends...
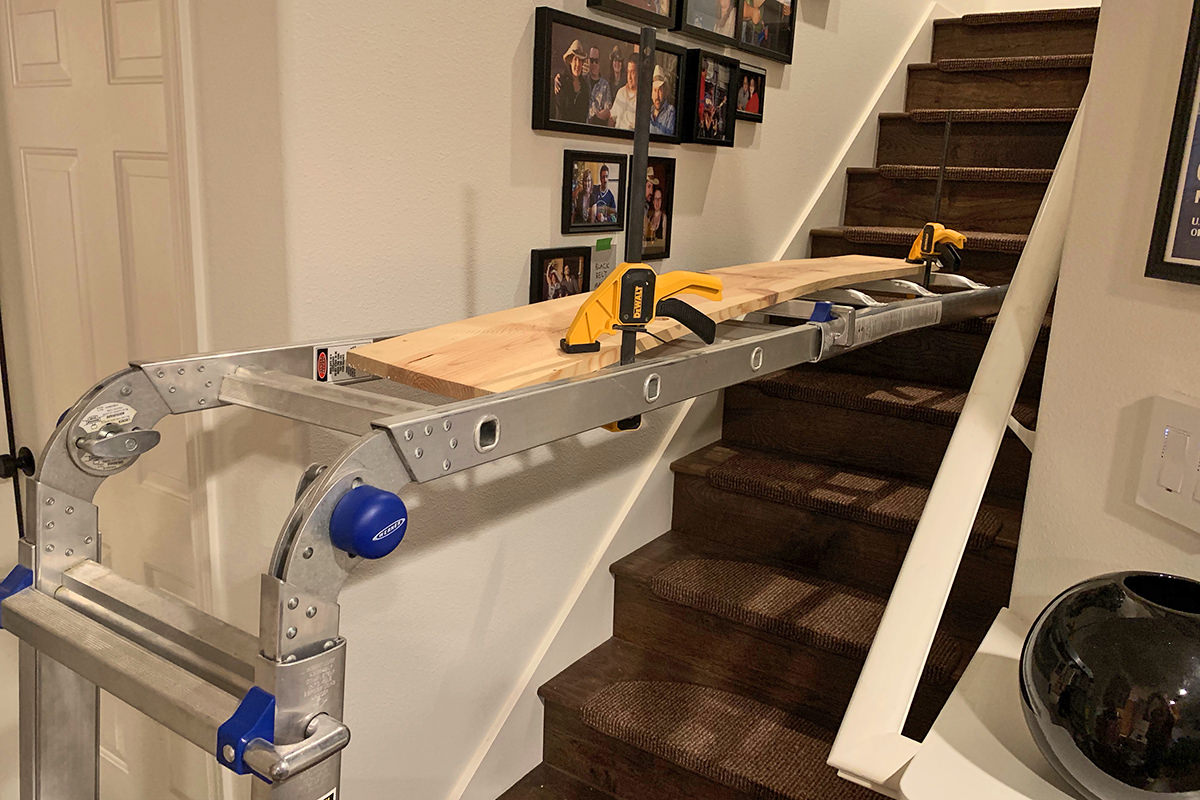
Even if hanging the photos at the top was a bit precarious thanks to my homemade scaffolding setup...
And now for my notes on creating this beautiful monstrosity...
- When planning a collage, I found it's important to not only vary frame placement by size, you also need to be mindful of randomizing the depth of the frames. Otherwise you end up with high spots or low spots that look weird. This was harder than it sounds. I used all black frames, so it was easier than it could have been. I have no idea how insane it would be to add different colors to the mix. I drew out the above template on my computer so I could move things around to try and get a pleasing pattern. Frame depth was shown as different colors so I could more easily come up with something looking random.
- Finding picture frames I could afford was a lot of work. The only time I went truly crazy was when the local Michaels Crafts store went out of business. The prices (which were already pretty good) were crazy cheap, so I bought as much as I felt comfortable piling up on my credit card. Everything else was purchased from buy-one-get-one sales (Fred Meyer's is great for these), special sales (Pier One is insanely expensive, but their sales are terrific), or clearances (Target flushes out their old stock at great prices to make room for the newer stuff). Some stores (like IKEA) have good quality and decent prices all the time, which was handy for filling in spots where I didn't want to wait for a sale.
- I tried to be sensitive to people who were friends that had a falling out or couples who are no longer together, but there were a few times I didn't have any choice but to use what I had available. I also tried to avoid shots with people I don't know, but that too was unavoidable a few times. I'm okay with this. I hope the people in question are.
- There are people I've tried hard to erase from my life, and leaving them off my wall is just another opportunity to remove them. It's tough, however, when they were so prominent in your life that Photoshopping them out of photos you'd otherwise like to use is often times impossible.
- On the flip-side, running into photos of people you love that are gone is tougher.
- Few things are more frustrating than trying to find photos you know exist but can't locate. Either because you've lost them or they were taken by somebody else and you don't have the originals to work from (or it's just a low-res image that got posted to your blog). There are people and shots I would have loved to have included, but simply could not find anything workable. I am trying hard to track them down in the hopes that those I missed can go on my second Wall of Bloggers.
- Originally the smallest frame in my plan was 5x7. I had to change everything when I realized that some of the photos I had were of such low resolution that this was too big for them. So I went down to 2.5x3.5. There's not too many photos that can't go down that small, and even web-resolution images look okay. At first I was blowing them up anyway and trying to paint out some of the JPEG noise, but then everything looks fake. Better to print at a smaller size and have it look good than printing too big and have the problems magnified so the photo looks bad.
- I was shocked at how many photos I wanted to use were blurry and awful upon closer inspection. Which is to say I'm not shocked that most of my blurry photos were taken at events where I was drinking.
- On the wall, there's not much difference between a $4 frame and a $20 frame, because people are looking at the photo not the frame.
- Quality is not governed by price. One of my most expensive frames that I really loved ended up falling apart when I took it apart to put the photo inside. That being said, cheap-cheap frames are going to be exactly that.
- I found it much easier to work from the top down in strips rather than assembling a collage from side to side. And starting from the middle and working outwards was the smartest decision I made. Check your measurements often, especially if you are centering your photos on a wall.
- To hang everything, I used 3M Command Strips which I bought in bulk to save money (thanks, Tim Gunn!). I also used a small level, which is essential for getting things to hang straight. There are pluses and minuses to using Command Strips. The plus is that it's very easy to get things placed where you want and they can be easily removed without damaging the wall. The negative is that they are visible on thin frames where you want to use every last bit of frame to attach them to. Also... not as environmentally-friendly as a nail and far, far more expensive. For a project like this though, the pluses far, far outweighed the negatives, and I am happy with the results.
- Acrylic does not look the same as real glass for some reason. Unless my frame is so big that glass would be dangerous, I've been buying only frames that have real glass because I like the look better.
- Working those little metal tabs that hold in the picture/backer/glass on most frames got to be painful after a while. Eventually I started using a putty knife to save my nails and fingertips.
- Manufacturers who staple their corner protectors to the frame should be slapped.
- I printed all my photos on an old HP printer that I had stored in the garage and hadn't used in years. The printheads were completely plugged and it took many soaks and flushes with cleaning fluid to get them unclogged. The ink cartridges were all dead, which meant I had to track down replacements. When I couldn't find them for a reasonable price, I ended up getting refillable cartridges that worked amazingly well at a fraction of the price. Now that I've printed all my photos, I'm pretty sure the printer is due for recycling, but I'm extremely grateful it lasted long enough to get through what I needed. Not that I am endorsing HP printers, mind you. The company is complete and total shit, and I won't be buying anything from them ever again if I can help it. The paper I had saved was still good, except one corner where moisture or something got to it. No big deal, but it was sealed in a plastic bag so I'm not sure how it happened.
And now on to planning my next wall.
Remember there's a zoomable image here that has a magnifying glass so you can everybody (maybe even yourself!)...


 As I mentioned a few times (or maybe it was just yesterday), I'm building a photo wall in my stairwell. Originally it was going to be a wall for friends and family, but it became much bigger than that when I realized I wouldn't have enough wall space for everybody. So now I'm going to have a Blogger Friends Wall in the stairwell, another Blogger Friends Wall in the dining room, a Family Wall in the upstairs hall, and a Friends Wall in my entryway.


Love it!
Makes me long for another gathering of some sort….
I really miss them. Met so many great people at all those meet-ups!
Yay! I made the wall. Thanks for letting me be a part of your travels.
That was a great meet-up!
I love how you planned everything out – we are so similar in that regard!
People called me crazy when I planned my living room wall like this. Granted, it was only a fraction of the amount of frames you have, but it ended looking as awesome as I expected!
This gives me the drive I need to tackle the side entrance… 😉
I’m also deeply touched to be amongst the pictures. But I think you need an updated one, as I look much better now. 😀
We’ve met twice that I can remember. Both times we were in costume!
I am greatly amused to be on your wall.
Happy to have you there!
Love all the pictures (and the details about putting them up) – seeing images like this make it worthwhile when you have to go back upstairs again to get something you forgot!
For the metal tab things, I recommend using a retractable ball point pen with the tip retracted. That way you can fit the hole over the tab and push it into position. It grips the tab well so you don’t slip and slice your finger which I’ve done way too many times before I figured this tip out.
Oh sure… NOW you tell me! I used all kinds of things to work those tabs, but I think a kitchen knife was my favorite.