
 Welcome to Remodeling Week at Blogography!
This time, we'll be taking a look at my guest-room remodel, which didn't require moving walls or tearing anything apart or anything extreme like that, so it was actually the easiest to work through. Kinda. The problem being that I've never had a guest room before, so it required all new furniture and stuff. In the end, the guest room actually ended up being one of the pricier expenditures I had.
The room itself is oddly-shaped, has one off-center window, and is kinda small, which left me limited options. I wanted a queen-sized bed, and it couldn't go under the window because I'd only have room for one nightstand, and I wanted two. So here we are...
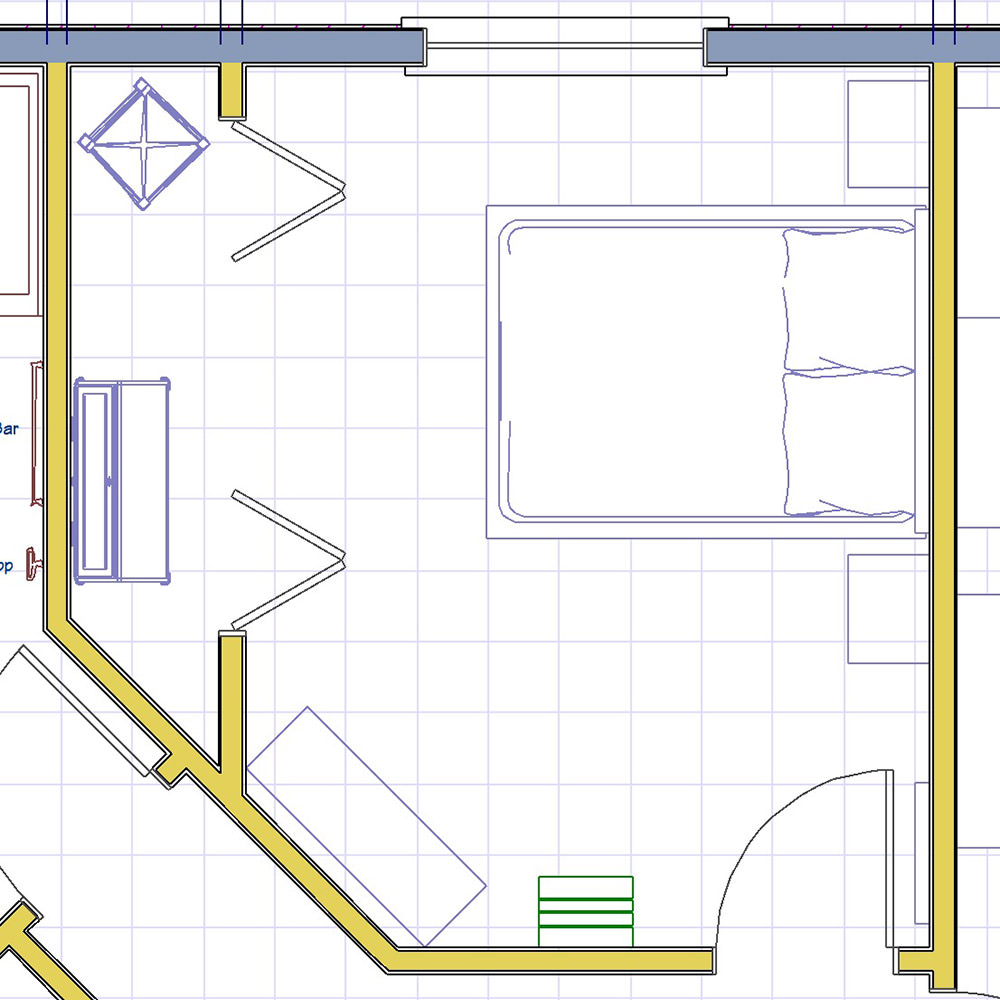
The overall color theme for the room is white. In order to make things interesting, I went with as many shades and style of white as I could find. Then added dark blue to keep it from looking stark.
And now... on to the furniture...
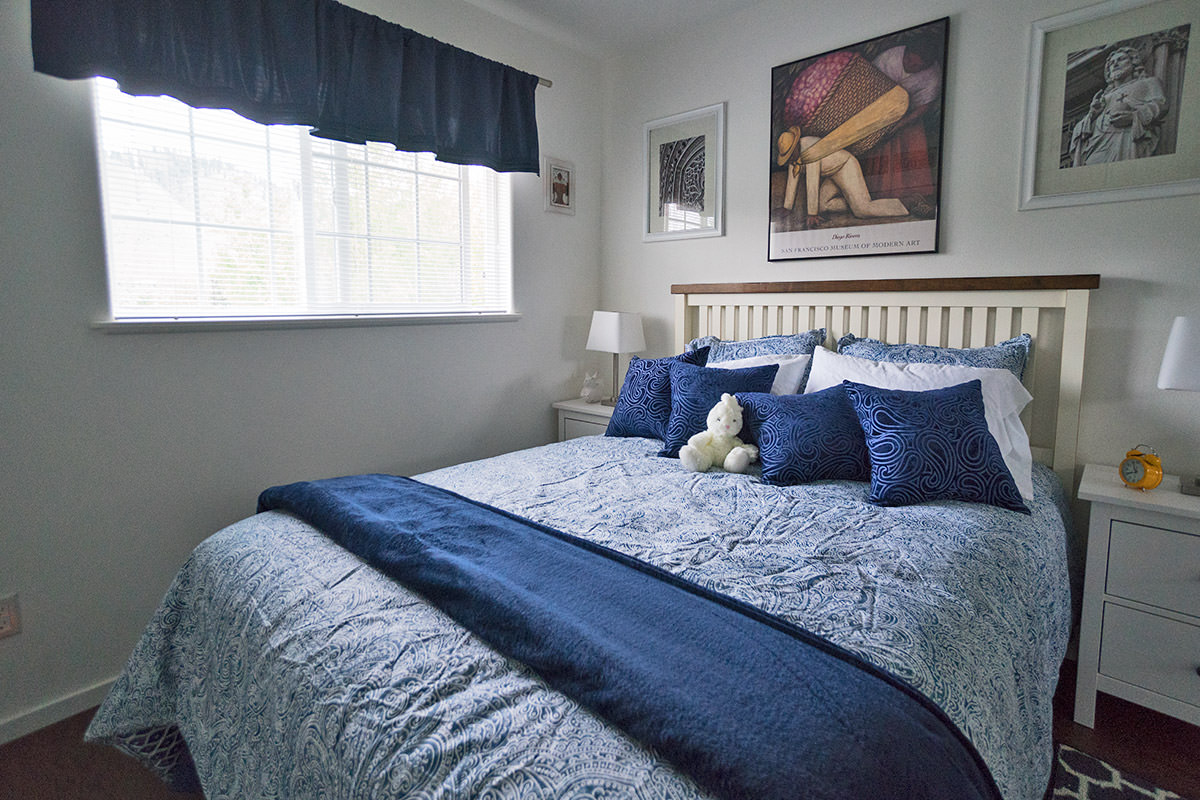
The bed is just a metal frame because I didn't have room for anything extravagant... also, I wanted to put the money where it counted by getting a great mattress (Bellagio at Home by Serta). I did try and dress it up a bit with a pricey headboard from Target though...
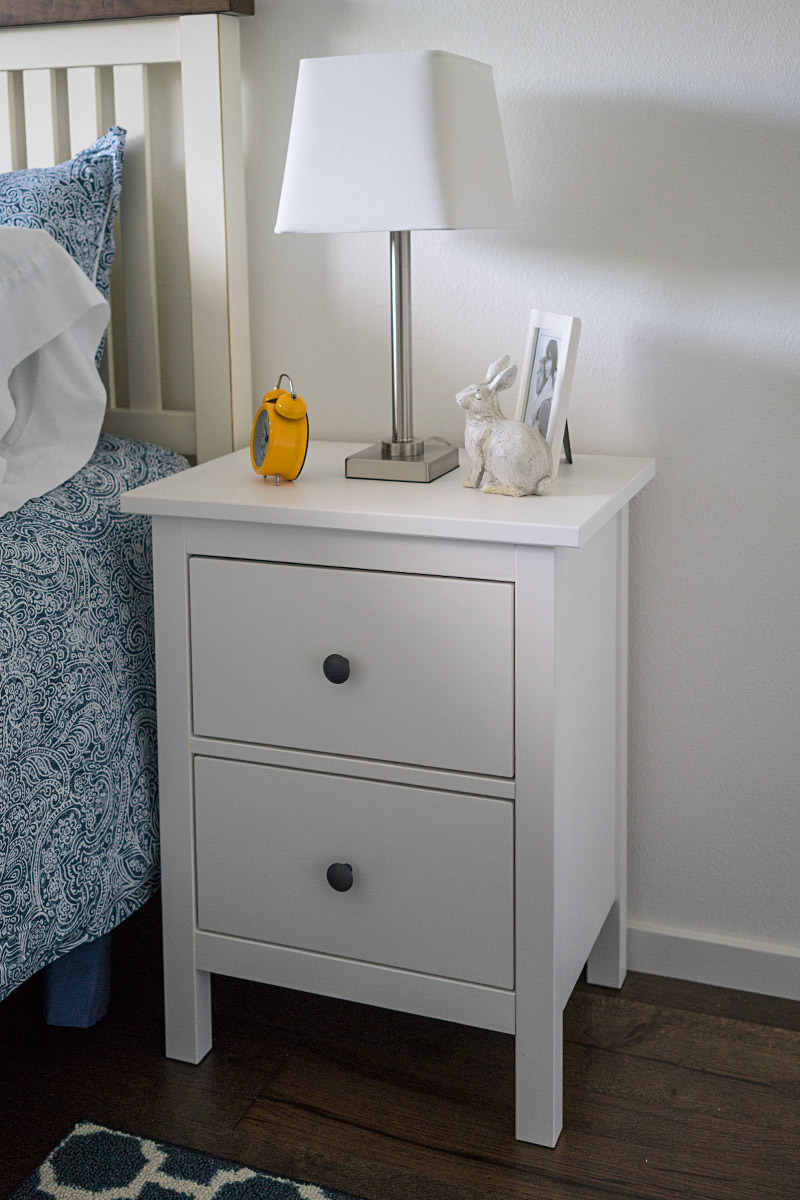
Nightstands are IKEA. Originally I didn't want drawers, but ultimately thought they'd be less effort to dust than shelves...
Originally, I wanted to have a desk and chair in the room with the dresser in the closet. But the desk wasn't tall enough that both people could see the television while laying in bed, so I swapped them around, which works really great. Except there's no outlet in the closet, so I mounted an extension cord to a hook on the side of the desk. Both desk and chair are IKEA...
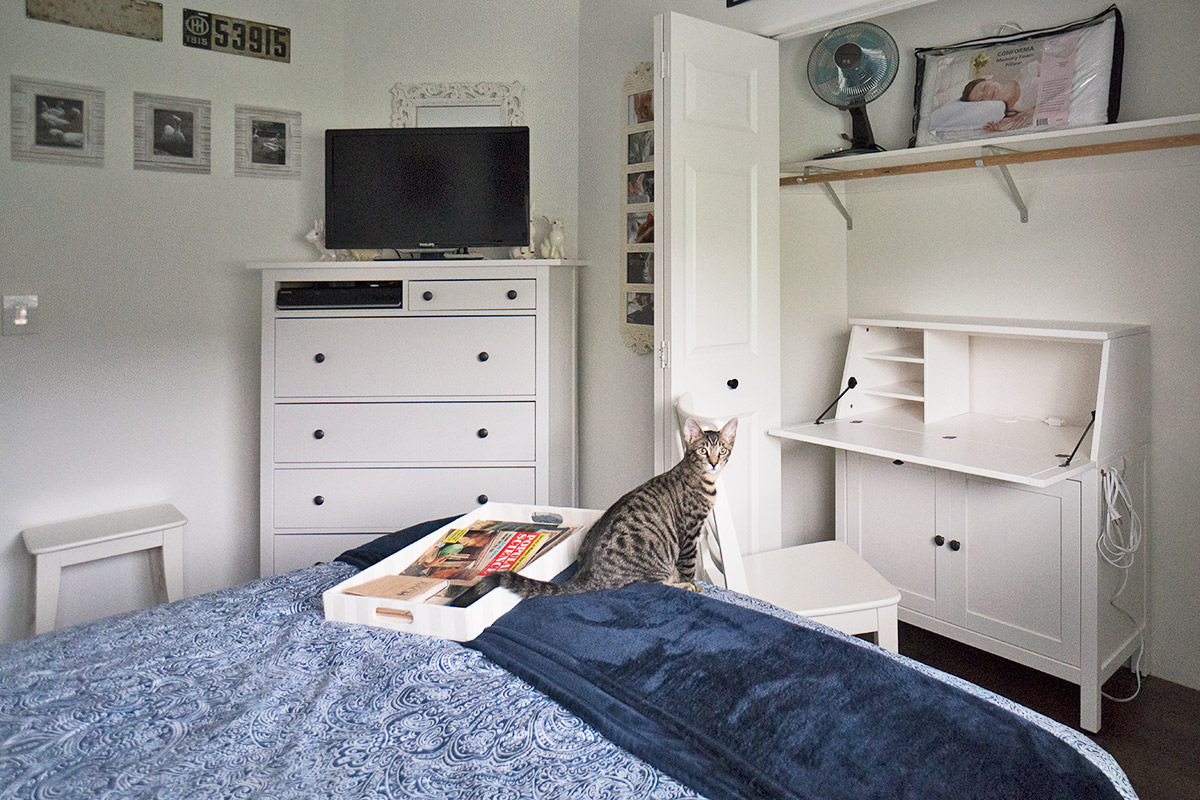
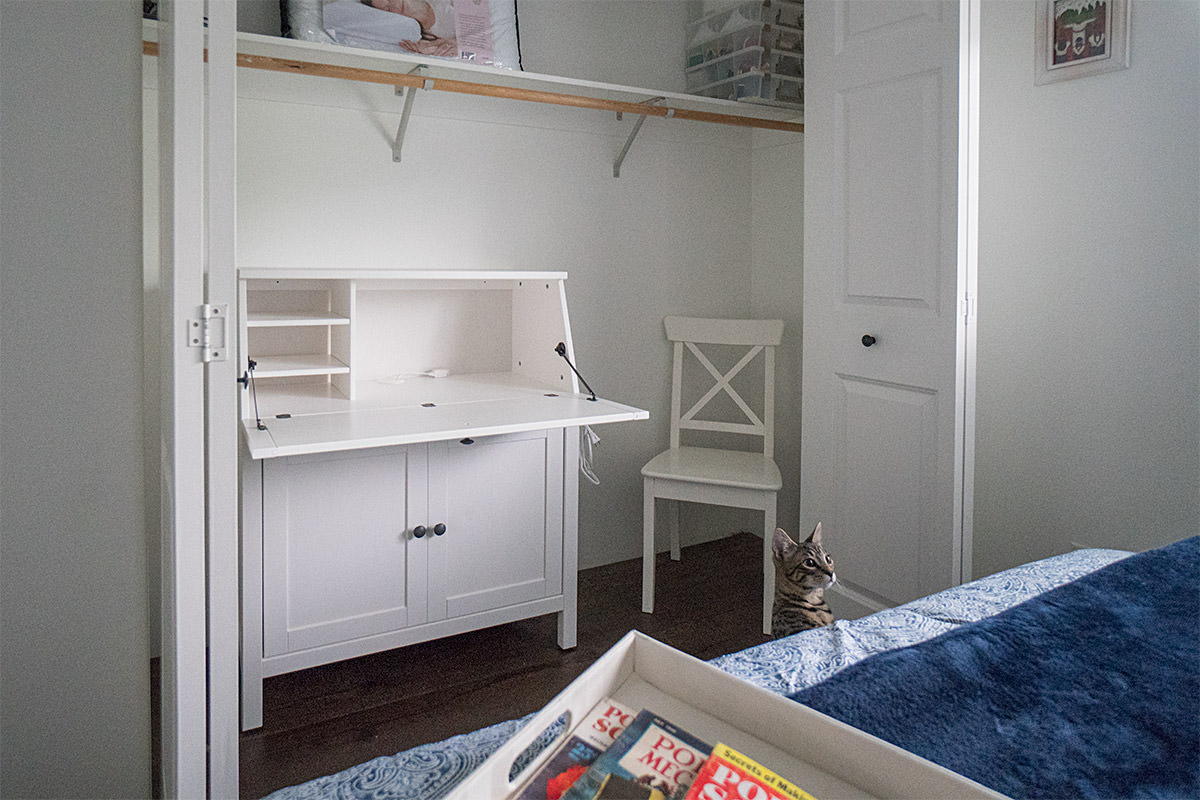
I had the chair by the door, but it looked like it would be easily tripped over, so I put it with the desk in the closet and bought an IKEA stool there...
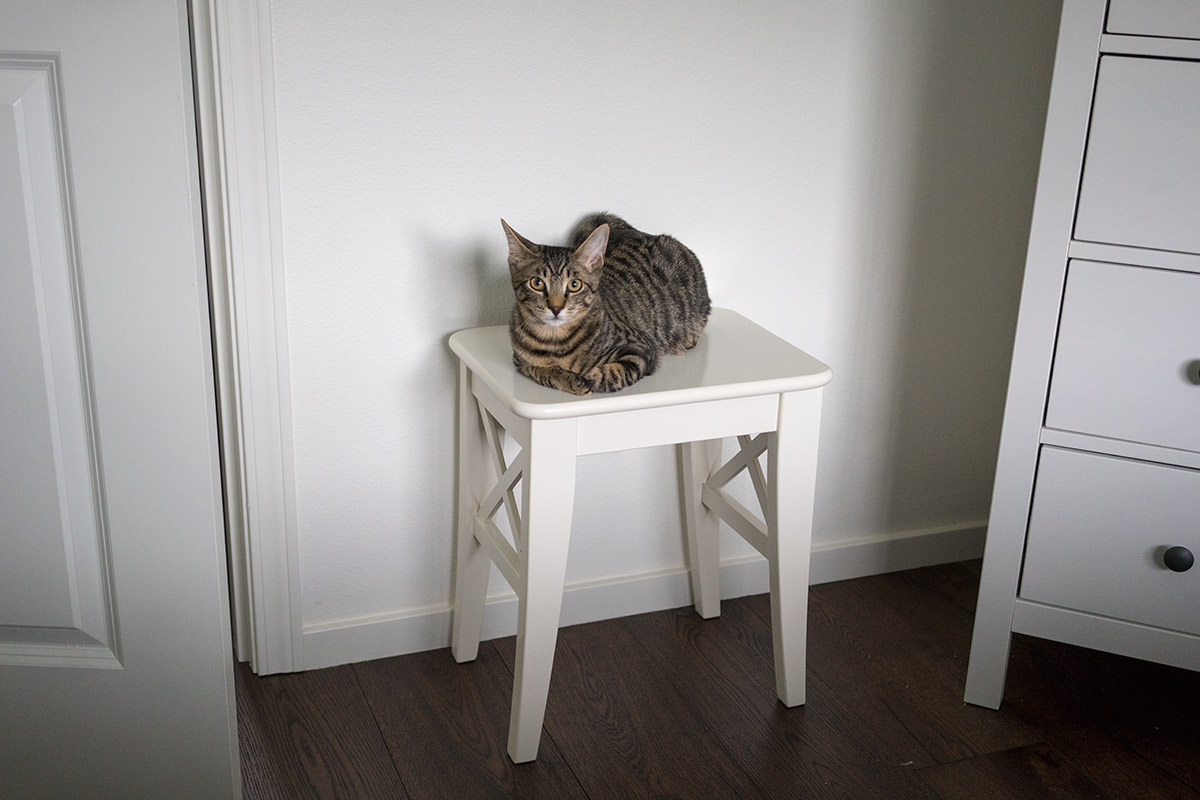
I should mention that I don't usually allow cats in this room in case my guests have allergies or something... but the minute they hear the door open, they run to get in. It's apparently their favorite room in the house. Probably because it's the one place they can't normally go.
Meanwhile, back at the dresser...
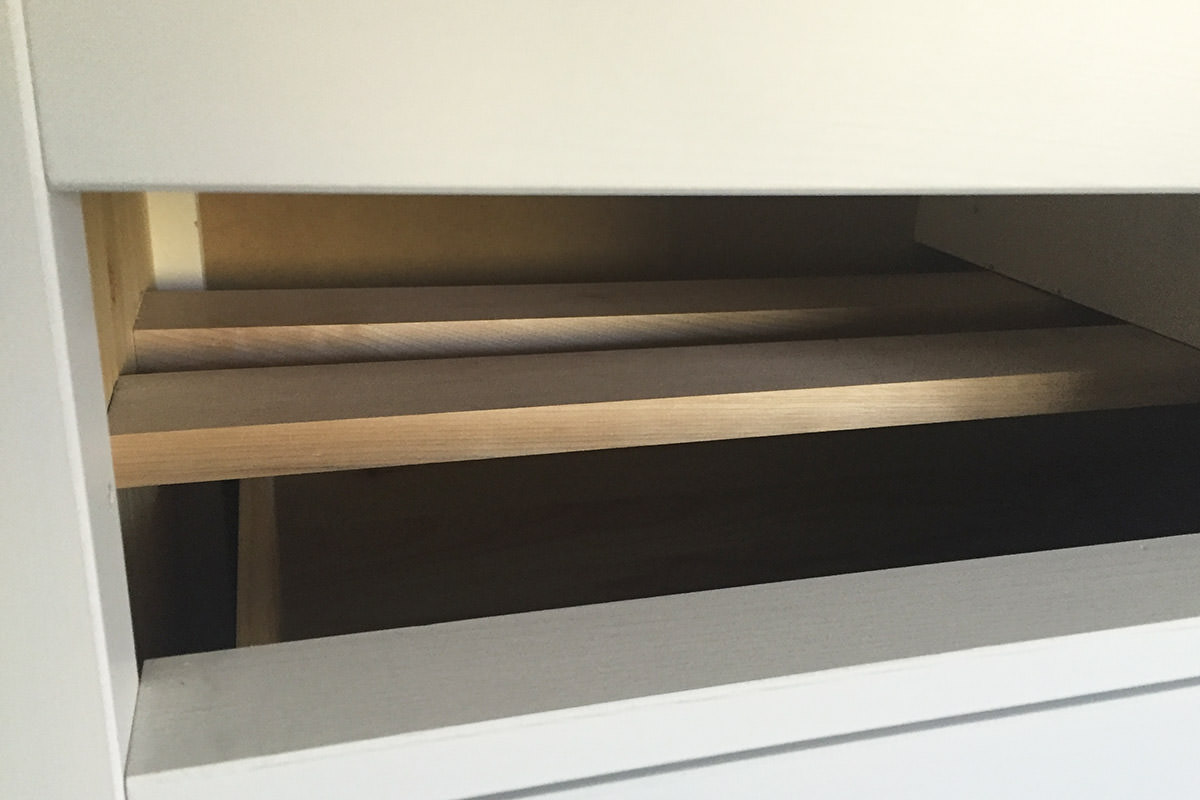
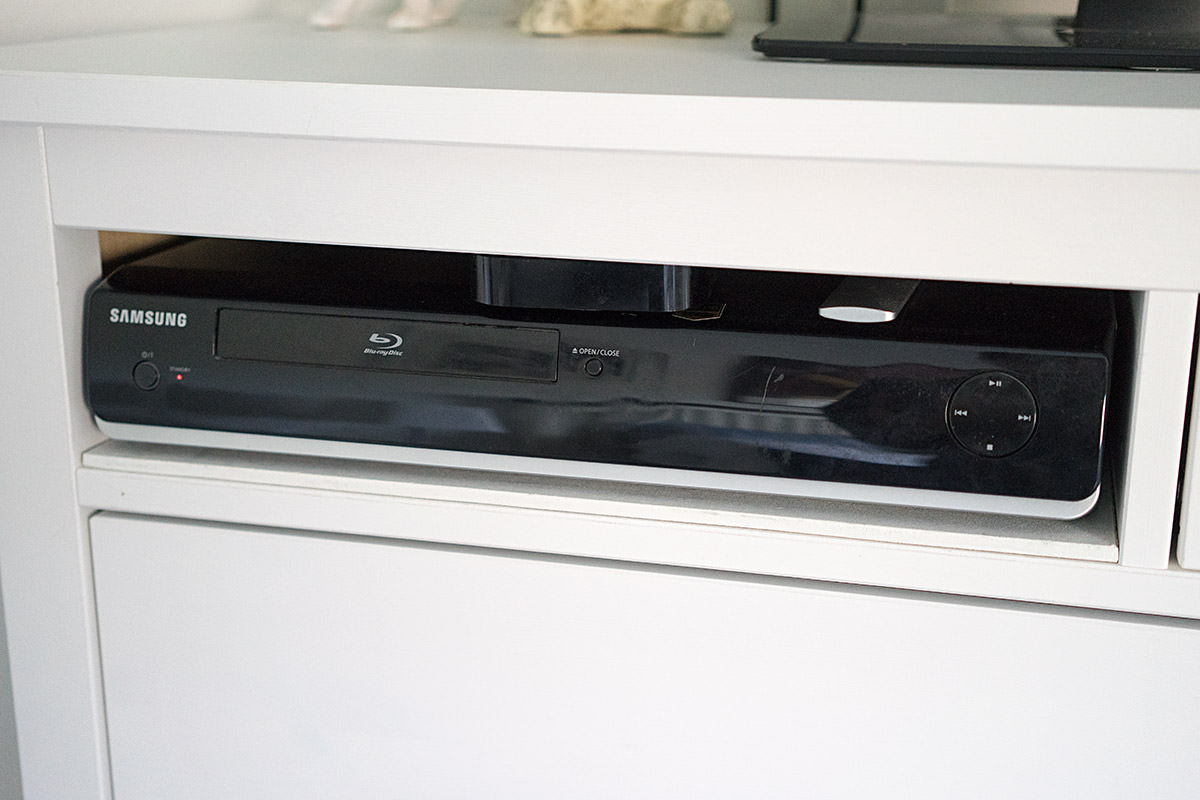
The television is at the perfect height on top of the dresser, so adding the DVD player underneath wasn't working. I decided to remove one of the small drawers and see if I could make a space. I started by attaching some wood strips to the center support, then secured them to the side of the dresser...
Then I whitewashed a thin piece of wood to match and secured it to the strips with carpet tape...
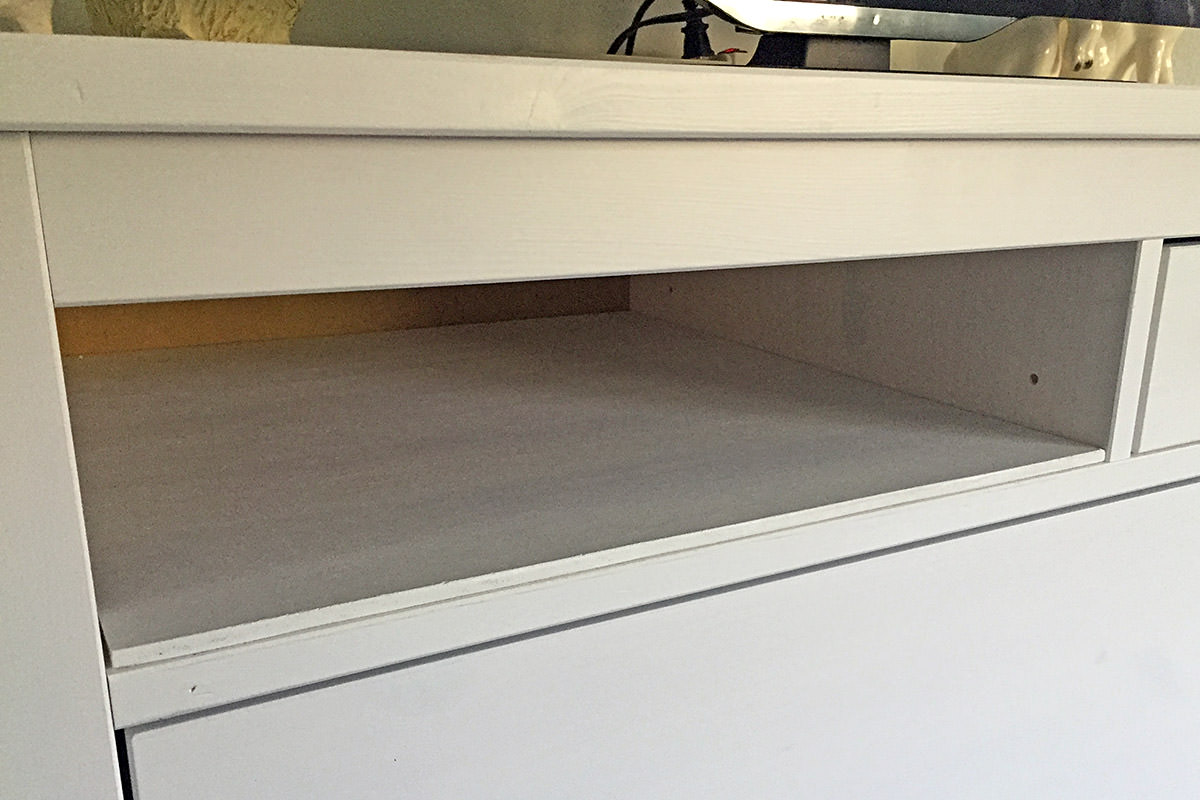
After drilling a hole in the back of the dresser for the cords to pass through, the DVD player (and AppleTV) fit perfectly...
And... that's it for furniture. Thank you, IKEA.

I love comments! However, all comments are moderated, and won't appear until approved. Are you an abusive troll with nothing to contribute? Don't bother. Selling something? Don't bother. Spam linking? Don't bother.
PLEASE NOTE: My comment-spam protection requires JavaScript... if you have it turned off or are using a mobile device without JavaScript, commenting won't work. Sorry.

There's no comments here...